8 Easy Steps to Onboard & get started
Optimize Your Rental Ninja Vacation Rental for Maximum Bookings:
As a friendly reminder, in case you have not completed this before, make sure you keep this article at hand. So you can continue where you left off!
We're thrilled to have you here, and we want to make sure that your onboarding experience is as smooth and enjoyable as possible.
Once you have synchronized all the data from the Channel Manager, these steps will guide you.
1 ) You can start by:*
📲 Downloading link for Android:
📲 Downloading link for Apple:
** First Step: Team Configuration **

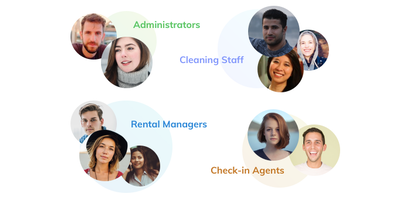
2 ) Invite your Team Members
and assign the desired Permissions to each of them. https://app.rental-ninja.com/
3 ) Create your Booking Tags 🏷 Mark your Bookings with recurring requests / remarks and identify them easily with the Booking Tags https://app.rental-ninja.com
🟡 Task Module: Automation Setup
![]()
First create your Job Templates
4 ) ✅ Templates are checklists for your Team that will show them how to complete each Job.
It will save you time every day, as you do not need to type what needs to be done every single time you create a job. https://app.rental-ninja.com
Schedule your Jobs / Recurring Jobs
5 ) 📅 Scheduled and Recurring Jobs are the autopilot for your Team. Here you can define the Job that need to be repeated over time, they will always be created according to your indications. The Assignees will be notified of their Jobs through Push Notifications. https://app.rental-ninja.com ![]()
🔵 Accounting: Automation Setup
![]()
First, create Recipients
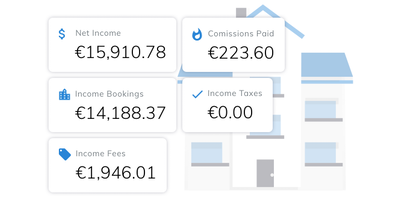
6 ) 📊 Know and understand your earnings with the Accounting module. Create the strategies to apply to each stakeholder through the Recipients tab.
https://rental-ninja.com/accounting/recipients
Lastly, Schedule the Frequency of your Statements
7 ) When scheduling your Rental Statements, you shall decide the frequency, the period to be accounted for, and the Recipients that shall earn any amounts from the given accounted Rentals.
In order to Setup automated recurring reports, click on the Scheduled Statements Tab and follow the steps to fill in the form.

🟢 Guest Module: Activate the PreCheck-in Form and Guest Portal
![]()
8 ) 🛂 If you wish to automatically request check-in + legal details to your Guests through the PreCheck-in Form enable the toggles at the top of the General Settings within the Guest Module.
That implies that an automated email will be sent to your Guests requesting to confirm the booking and arrival details. Additionally, you can request legal information of each guest or only of who made the reservation.
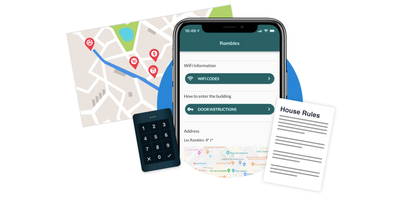
To activate the Guest Portal AND the online Guest Guide + self check-in option through the Online Guest Portal, click on the Rental Settings and Guides Tabs.
https://rental-ninja.com/guest-app

You can always open this Checklist on your browser to easily follow through on the Tasks requested to complete your Onboarding Setup.
It's as simple as this to configure! You can stay up-to-date with the latest updates and new features by following us on Social Media!
